Introduction
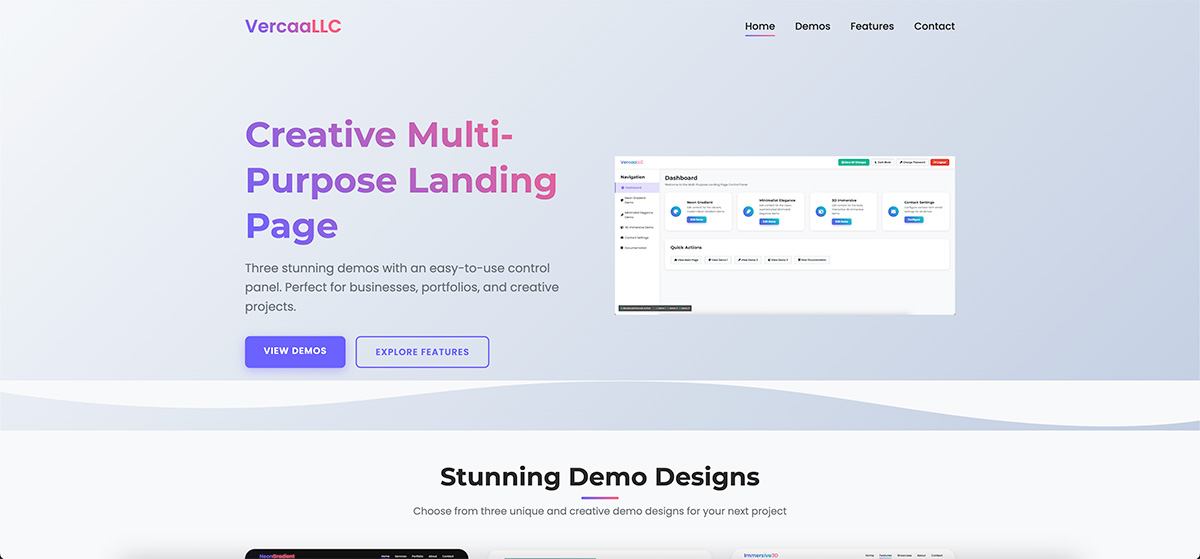
Welcome to the documentation for the Multi-Purpose Landing Page by VercaaLLC. This comprehensive guide will help you set up, customize, and manage your landing pages with ease, even if you have zero coding knowledge.
About This Product
The Multi-Purpose Landing Page is a versatile, creative, and modern solution for businesses, freelancers, agencies, and anyone looking to establish a professional online presence. Each of the three included demos offers a unique visual style and layout, while maintaining full responsiveness and cross-browser compatibility.
What sets this product apart is its powerful yet simple control panel that allows you to modify all content without any coding knowledge. The control panel is password-protected for security but doesn't require a database, making it easy to set up on any web hosting.
Features
The Multi-Purpose Landing Page comes packed with features designed to provide maximum flexibility and ease of use.
Creative Design
Three unique, visually stunning demo designs with modern aesthetics and creative layouts.
No-Code Editing
Intuitive control panel for modifying all content without any coding knowledge required.
No Database Required
The entire system works client-side with no database, making installation and setup incredibly simple.
Key Features List
- Three Unique Demos: Neon Gradient, Minimalist Elegance, and 3D Immersive designs
- Fully Responsive: Perfect display on all devices from mobile phones to large desktop screens
- Password Protected Admin: Secure access to the control panel with customizable password
- Live Content Editing: See changes reflect immediately as you edit
- Functional Contact Forms: Working contact forms with customizable email recipient
- No Database Required: Client-side storage for all settings and content
- Dark/Light Mode: Toggle between dark and light modes in the admin panel
- Cross-Browser Compatible: Works perfectly in all modern browsers
- Well Documented: Comprehensive documentation with step-by-step guides
- Regular Updates: Ongoing support and updates from VercaaLLC
Installation
Installing the Multi-Purpose Landing Page is straightforward and requires no special server configurations or databases.
System Requirements
- Any web hosting service (shared hosting is fine)
- No database required
- No PHP or server-side scripting required
- Modern web browser support
Installation Steps
Download and Extract Files
After purchasing, download the ZIP file from CodeCanyon and extract it to your local computer.
Upload Files to Your Server
Upload all files and folders to your web hosting using FTP or your hosting's file manager.
Access Your Landing Page
Navigate to your domain or subdirectory in a web browser to see the main landing page with links to all three demos.
https://yourdomain.com/ or https://yourdomain.com/landing-page/
Access the Admin Panel
To access the admin control panel, navigate to the admin directory:
https://yourdomain.com/admin/ or https://yourdomain.com/landing-page/admin/
Use the default password: 123456
Directory Structure
landing_page_html/
├── index.html              # Main landing page
├── css/                    # Main CSS files
├── js/                     # Main JavaScript files
├── images/                 # Main images
├── demos/                  # Demo landing pages
│   ├── demo1/              # Neon Gradient demo
│   ├── demo2/              # Minimalist Elegance demo
│   └── demo3/              # 3D Immersive demo
├── admin/                  # Admin control panel
│   ├── index.html          # Admin login and dashboard
│   ├── css/                # Admin CSS files
│   └── js/                 # Admin JavaScript files
└── docs/                   # Documentation files
Admin Panel
The admin panel is the control center for managing all aspects of your landing pages. It's designed to be intuitive and user-friendly, requiring no coding knowledge.
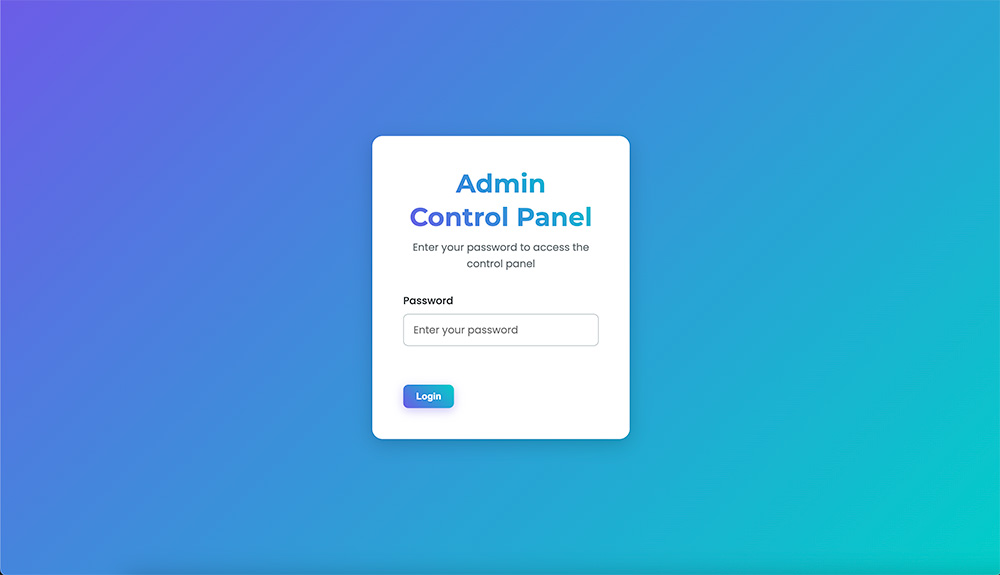
Accessing the Admin Panel
To access the admin panel, navigate to the admin directory in your browser:
https://yourdomain.com/admin/ or https://yourdomain.com/landing-page/admin/
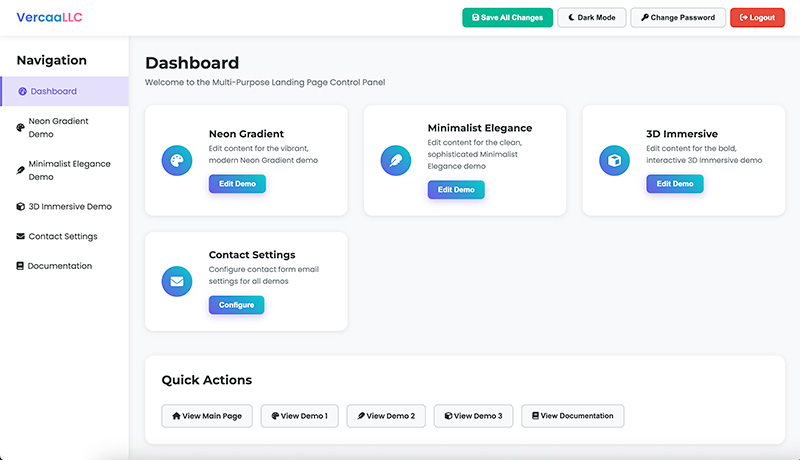
Admin Panel Overview
After logging in, you'll see the admin dashboard with the following sections:
Dashboard
The main dashboard provides quick access to all three demos and important settings.
Neon Gradient Demo
Edit all content for the Neon Gradient demo, including text, images, and contact information.
Minimalist Elegance Demo
Edit all content for the Minimalist Elegance demo, including text, images, and contact information.
3D Immersive Demo
Edit all content for the 3D Immersive demo, including text, images, and contact information.
Contact Settings
Configure contact form settings, including recipient email address and success messages.
Admin Panel Features
- Dark/Light Mode Toggle: Switch between dark and light themes for comfortable editing in any environment.
- Password Management: Change your admin password for enhanced security.
- Live Preview: See your changes in real-time with the built-in preview frames.
- Save All Changes: Save all your modifications with a single click.
- Quick Navigation: Easily navigate between different sections using the sidebar menu.
Content Editing
The Multi-Purpose Landing Page makes content editing simple and intuitive, with no coding required.
How Content Editing Works
All editable content is organized into expandable sections in the admin panel. Simply click on a section to expand it, make your changes, and save.
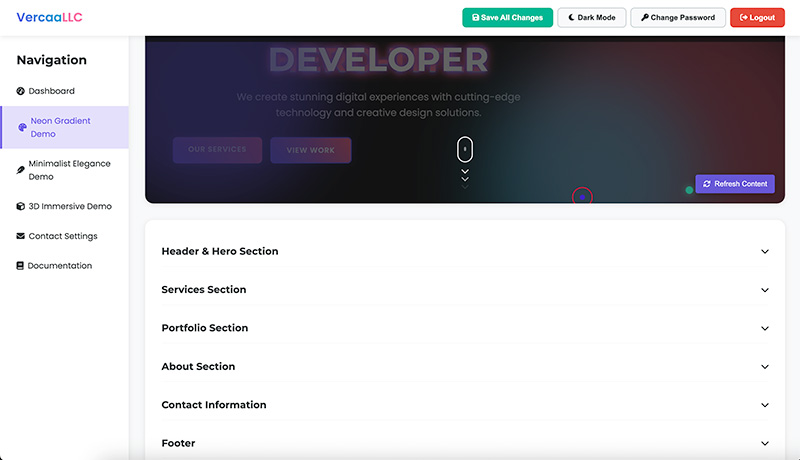
Editing Text Content
Navigate to the Demo Section
In the admin panel, click on the demo you want to edit in the sidebar menu.
Expand the Content Section
Click on the section header (e.g., "Header & Hero Section") to expand that section.
Edit the Content
Modify the text in the input fields or text areas as needed.
Save Your Changes
Click the "Save All Changes" button in the header to apply your changes.
Content Persistence
All content changes are stored in the browser's localStorage, which means:
- No database is required
- Changes persist even after closing the browser
- Content is specific to each browser/device
Contact Forms
Each demo includes a fully functional contact form that can be customized through the admin panel.
Contact Form Features
- Client-side validation for required fields
- Customizable recipient email address
- Customizable success message
- Option to enable/disable confirmation emails
- Option to save form submissions locally
Configuring Contact Forms
Access Contact Settings
In the admin panel, click on "Contact Settings" in the sidebar menu.
Set Recipient Email
Enter the email address where you want to receive form submissions.
Customize Email Subject
Set the subject prefix for emails sent from the contact form.
Set Success Message
Customize the message displayed to users after successful form submission.
Configure Form Options
Enable or disable confirmation emails and local storage of submissions.
Activate/Deactivate Forms
Choose which demo contact forms should be active.
Save Settings
Click "Save Contact Settings" to apply your changes.
How Contact Forms Work
The contact forms in this package use client-side JavaScript to process submissions. When a user submits a form:
- The form data is validated on the client side
- If validation passes, the form displays a success message
- In a real implementation, the form would send data to a server endpoint
- For this demo, form submissions are stored locally if enabled
Password Management
The admin panel is protected by a password to prevent unauthorized access. By default, the password is set to 123456.
Changing Your Password
Access the Admin Panel
Log in to the admin panel using your current password.
Click "Change Password"
In the admin header, click the "Change Password" button.
Enter Current Password
Enter your current password in the "Current Password" field.
Enter New Password
Enter your new password in the "New Password" field. The password must be at least 6 characters long.
Confirm New Password
Re-enter your new password in the "Confirm New Password" field.
Save Password
Click the "Save Password" button to update your password.
Resetting a Forgotten Password
If you forget your password, you can reset it by clearing your browser's localStorage:
Open Browser Developer Tools
Right-click anywhere on the page and select "Inspect" or press F12.
Navigate to Application/Storage Tab
In the developer tools, click on the "Application" tab (Chrome/Edge) or "Storage" tab (Firefox).
Select Local Storage
In the left sidebar, expand "Local Storage" and select your website's domain.
Delete adminPassword Entry
Find the "adminPassword" entry in the list, right-click on it, and select "Delete".
Refresh the Page
Refresh the admin login page. The password will be reset to the default: 123456
Neon Gradient Demo
The Neon Gradient demo features a vibrant, modern design with colorful gradients and glowing neon effects.
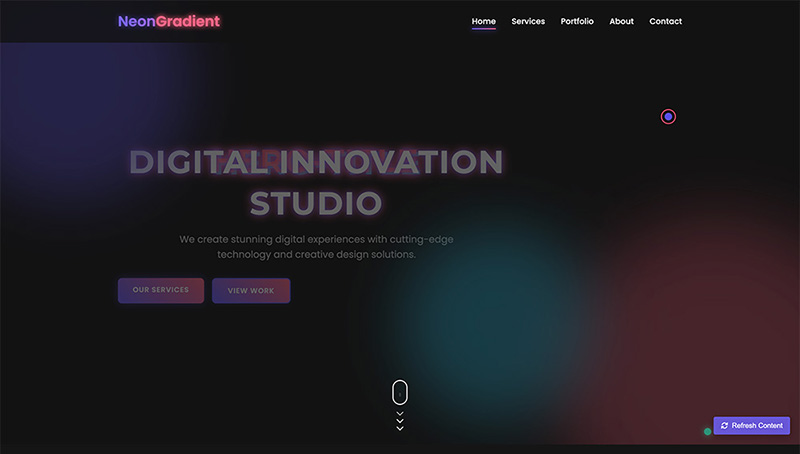
Key Features
- Vibrant neon color scheme with gradient effects
- Modern, dynamic layout with animated elements
- Creative hover effects and transitions
- Fully responsive design for all devices
- Functional contact form with validation
Customization Options
The Neon Gradient demo can be customized through the admin panel with the following sections:
| Section | Editable Elements |
|---|---|
| Header & Hero | Logo, Hero Title, Hero Subtitle, CTA Buttons |
| Services | Section Title, Section Subtitle, Service Items (4) |
| Portfolio | Section Title, Section Subtitle, Portfolio Items (3) |
| About | Section Title, Description Paragraphs, Stats (4) |
| Contact | Address, Email, Phone, Button Text |
| Footer | Footer Tagline |
Minimalist Elegance Demo
The Minimalist Elegance demo features a clean, sophisticated design with a focus on typography and whitespace.
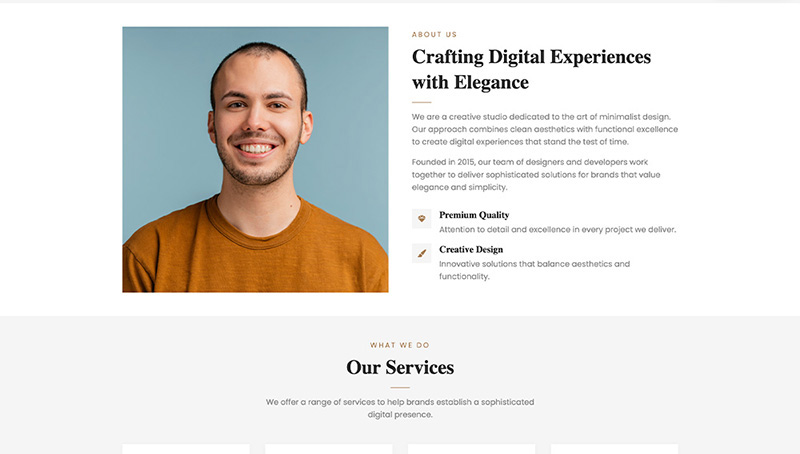
Key Features
- Clean, minimalist design with elegant typography
- Sophisticated color palette with subtle accents
- Refined animations and transitions
- Fully responsive design for all devices
- Functional contact form with validation
Customization Options
The Minimalist Elegance demo can be customized through the admin panel with the following sections:
| Section | Editable Elements |
|---|---|
| Header & Hero | Logo, Hero Subtitle, Hero Title, Hero Description, CTA Buttons |
| About | Section Subtitle, Section Title, Description Paragraphs, Features (2) |
| Services | Section Subtitle, Section Title, Section Description, Service Items (4) |
| Stats | Stat Numbers and Titles (4) |
| Contact | Contact Subtitle, Contact Title, Contact Description, Address, Email, Phone, Button Text |
| Footer | Footer Tagline |
3D Immersive Demo
The 3D Immersive demo features a bold, interactive design with 3D elements and immersive effects.
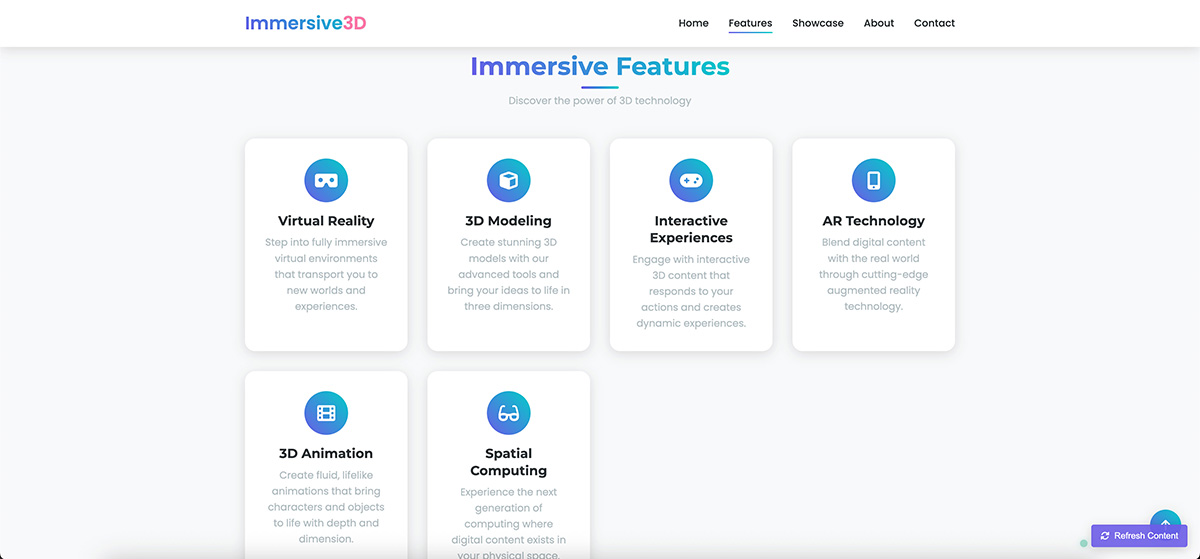
Key Features
- Bold design with 3D elements and effects
- Interactive elements that respond to user actions
- Dynamic animations and transitions
- Fully responsive design for all devices
- Functional contact form with validation
- Custom cursor effects on desktop
Customization Options
The 3D Immersive demo can be customized through the admin panel with the following sections:
| Section | Editable Elements |
|---|---|
| Header & Hero | Logo, Hero Title, Hero Subtitle, CTA Buttons |
| Features | Section Title, Section Subtitle, Feature Items (4) |
| About | Section Title, Description Paragraphs, Stats (3) |
| Contact | Contact Title, Contact Description, Address, Email, Phone, Button Text |
| Footer | Footer Tagline |
Advanced Customization
While the admin panel provides extensive customization options, advanced users may want to make more significant changes to the code.
Implementing Server-Side Email Functionality
To make the contact forms send actual emails, you can implement a server-side script. Here's a simple example using PHP:
Create a PHP Script
Create a file named send-email.php in your root directory with the following code:
<?php
// Get form data
$name = $_POST['name'] ?? '';
$email = $_POST['email'] ?? '';
$subject = $_POST['subject'] ?? 'New Contact Form Submission';
$message = $_POST['message'] ?? '';
$recipient = $_POST['recipient'] ?? 'your-default-email@example.com';

// Validate data
if (empty($name) || empty($email) || empty($message)) {
    echo json_encode(['success' => false, 'message' => 'Please fill all required fields']);
    exit;
}

// Prepare email
$headers = "From: $name <$email>\r\n";
$headers .= "Reply-To: $email\r\n";
$headers .= "MIME-Version: 1.0\r\n";
$headers .= "Content-Type: text/html; charset=UTF-8\r\n";

$emailBody = "
<html>
<head>
    <title>New Contact Form Submission</title>
</head>
<body>
    <h2>Contact Form Submission</h2>
    <p><strong>Name:</strong> $name</p>
    <p><strong>Email:</strong> $email</p>
    <p><strong>Subject:</strong> $subject</p>
    <p><strong>Message:</strong></p>
    <p>$message</p>
</body>
</html>
";

// Send email
$mailSent = mail($recipient, "New Contact Form Submission: $subject", $emailBody, $headers);

// Return result
echo json_encode(['success' => $mailSent, 'message' => $mailSent ? 'Email sent successfully' : 'Failed to send email']);
?>Modify the Contact Form
Update the contact form in each demo to submit to your PHP script. Open each demo's script.js file and modify the contact form submission code to use AJAX:
// Contact form submission
const contactForm = document.querySelector('.contact-form form');

if (contactForm) {
    contactForm.addEventListener('submit', function(e) {
        e.preventDefault();

        // Simple form validation
        let valid = true;
        const inputs = contactForm.querySelectorAll('input, textarea');
        const formData = new FormData();

        inputs.forEach(input => {
            if (input.hasAttribute('required') && !input.value.trim()) {
                valid = false;
                input.style.borderColor = '#e74c3c';
            } else {
                input.style.borderColor = '';
                formData.append(input.getAttribute('name') || input.getAttribute('placeholder'), input.value);
            }
        });

        if (valid) {
            // Show loading state
            const submitBtn = contactForm.querySelector('button[type="submit"]');
            const originalBtnText = submitBtn.textContent;
            submitBtn.innerHTML = '<i class="fas fa-spinner fa-spin"></i> Sending...';
            submitBtn.disabled = true;

            // Add recipient email to form data
            const recipientEmail = contactForm.getAttribute('data-recipient') ||
                                  localStorage.getItem('contactEmail') ||
                                  'default@example.com';
            formData.append('recipient', recipientEmail);

            // Send AJAX request
            fetch('send-email.php', {
                method: 'POST',
                body: formData
            })
            .then(response => response.json())
            .then(data => {
                if (data.success) {
                    // Show success message
                    contactForm.innerHTML = `
                        <div class="success-message" style="text-align: center; padding: 30px 0;">
                            <div style="font-size: 4rem; color: #00b894; margin-bottom: 20px;">
                                <i class="fas fa-check-circle"></i>
                            </div>
                            <h3>Message Sent Successfully!</h3>
                            <p>Thank you for contacting us. We'll get back to you soon.</p>
                        </div>
                    `;
                } else {
                    // Show error message
                    submitBtn.innerHTML = originalBtnText;
                    submitBtn.disabled = false;
                    alert('Failed to send message. Please try again later.');
                }
            })
            .catch(error => {
                console.error('Error:', error);
                submitBtn.innerHTML = originalBtnText;
                submitBtn.disabled = false;
                alert('An error occurred. Please try again later.');
            });
        }
    });
}
Using a Third-Party Form Service
Alternatively, you can use a third-party form submission service like Formspree or FormSubmit:
Sign Up for a Form Service
Create an account with a service like Formspree or FormSubmit.
Get Your Form Endpoint
Follow the service's instructions to get your unique form endpoint URL.
Update the Form Action
Modify each demo's contact form to use the endpoint URL as the form action:
<form action="https://formspree.io/f/your-form-id" method="POST">
    <!-- Form fields -->
</form>
Customizing Styles
To customize the styles beyond what's available in the admin panel, you can modify the CSS files:
Locate the CSS Files
Each demo has its own CSS file in its respective directory:
demos/demo1/css/style.css- Neon Gradient demodemos/demo2/css/style.css- Minimalist Elegance demodemos/demo3/css/style.css- 3D Immersive demo
Make Your Changes
Edit the CSS files to customize colors, fonts, spacing, or any other visual aspects.
Troubleshooting
Here are solutions to common issues you might encounter:
Content Changes Not Saving
Problem: Changes made in the admin panel are not being saved or reflected on the demo pages.
Solution:
- Make sure you're clicking the "Save All Changes" button after making edits
- Check if your browser has localStorage enabled
- Try using a different browser
- Clear your browser cache and try again
Forgotten Admin Password
Problem: You've forgotten your admin password and can't access the control panel.
Solution:
- Follow the steps in the "Resetting a Forgotten Password" section
- Clear your browser's localStorage to reset to the default password (123456)
Contact Form Not Working
Problem: The contact form doesn't send emails or show success messages.
Solution:
- Check if the form is activated in the Contact Settings
- Implement server-side email functionality as described in the Advanced Customization section
- Try using a third-party form service like Formspree
Visual Issues on Mobile Devices
Problem: The demos don't look right on mobile devices.
Solution:
- Make sure you're using the latest version of your mobile browser
- Check if your device supports modern CSS features
- Try disabling any browser extensions that might interfere with the layout
Support
If you need help with the Multi-Purpose Landing Page, there are several ways to get support:
Email Support
For direct assistance, email us at support@vercaallc.com.
CodeCanyon Comments
Post your questions in the comments section of the product page on CodeCanyon.
Documentation
Refer to this documentation for detailed instructions and troubleshooting.
Support Policy
- Support is provided for the item as described and for the intended purpose
- Support does not include customization beyond the available options
- Response time is typically within 24-48 hours on business days
Updates
The Multi-Purpose Landing Page will receive regular updates with new features, bug fixes, and improvements. To check for updates:
- Log in to your CodeCanyon account
- Go to your Downloads page
- Check if a new version is available for download